By now, most major shops have had enough exposure to 6L80 transmissions to realize that they will be around for quite some time, providing plenty of work. Patterned failures for this unit have been covered in previous editions of GEARS magazine, but there is more to let you know! Realizing that not all transmission builders are of the quality that reads our magazine (smile), these units are being repaired by less informed shops with varying degrees of success. In other words, mechanics using self-taught procedures build these units and create unique failures that may be difficult to diagnose to the exact cause. This article will explore some builder-related antics and other processes that can leave you scratching your head trying to figure out problems.

DIAGNOSTICS IS KEY
 Most 6L80 failures are pressure-related. Whether it is on the control side or the internal function of the unit, transmission malfunctions will cause the customer to bring the vehicle to you with driveability complaints. Understanding this unit’s operation allows you to make an informed decision on the direction to turn for solving your issue. Always remember that your best diagnostic tool is using the vehicle as a dyno. Once you remove the transmission, you are in resolution mode!
Determining control-related issues versus a transmission performance problem is difficult since this unit does not offer the ability to back probe electrical circuits to verify proper operation and commands. However, you can verify mainline pressure versus actual command.
Hook up a pressure gauge to the mainline port on the passenger’s side of the transmission. Use your scan tool to observe the EPC command versus the actual reading on your pressure gauge. Then, navigate to transmission bi-directional controls; some manufacturers have this under ‘Functional Tests’ or similar. With the vehicle running, you can command the EPC solenoid amperage up and down while observing the pressure gauge for proper hydraulic response. Use the chart in Figure 1 to verify your readings.

If your test is out-of-range low, you can place the transmission in a failsafe mode by locating and removing the TCM fuse. Killing the power to the TCM puts the EPC solenoid in high-pressure demand. Observing the pressure gauge, if you see that your line pressure is relatively low but rises when you increase engine speed, most likely you have a pump output issue. However, everything from the pressure regulator valve to mechanical problems with the EPC solenoid can cause issues. Since the EPC solenoid is less likely to fail, use a process of elimination that ends with the TECHM. If your testing leads you inside the unit, let’s look at some items to check.
 CHECK THE PUMP

We know by now that these units come into our shops mainly because of a failing torque converter. Depending on how long the customer drove the vehicle after the initial symptoms determines the amount of damage inside the unit. On most occasions, the pump and stator must be either replaced or repaired. However, on some units, the assembly looks excellent. Here’s where you can get burned if you assume that everything that looks good is good!
Always verify the integrity of the pump! If your pump bell housing pocket and stator surfaces look good, check the clearance of the slide and rotor installed in the pump. Use Plastigage to check the clearance. Using a straight edge and feeler gauge is very difficult since the clearance is between .0008” and .002” (Figure 2).
If the unit was previously rebuilt, you must take a closer look at all surfaces. Remember that not all units were handled with the same care that you are giving them. The stator and pump pocket surfaces should be checked for possible ‘wizz wheel’ resurfacing. Unfortunately, this seems to be growing in popularity (Figure 3).
 Other checks to make are the slide and the rotor thickness. If the unit had low-pressure issues, delayed engagements, especially when hot, or a ‘shaky’ needle when observing line pressure on a gauge at idle, there might be issues here. Again, if someone else built this before you, just because it looks good does not mean it is good! An old-fashioned piece of glass on a table with some 600-grit wet-and-dry sandpaper can do wonders in restoring that brand-new look to a worn part. The nominal rotor and slide thickness is around 0.707”.
Another area of concern is the depth of the slide return pocket in the bell housing side of the pump. If the bell housing was machined, always verify that you have a nominal clearance of 0.020” or more to ensure the coils don’t bind when the pump is fully assembled (Figure 4). Use a die grinder or a Dremel tool to correct this dimension as needed.
UNIT ENDPLAY CONCERNS
Machined parts are an excellent cost-cutting alternative to purchasing new parts. Keeping a supply of precut bell housings and stators can also prove to be a real time saver. However, you must consider what happens when each part is machined. Let’s take a closer look at the aftermath of these machining processes.
 If the stator body is cut, a certain amount of material must be taken off the entire surface to remove grooves from the pump surface. The total amount of material removed will increase the unit endplay. So, if you have your original stator machined, add it to your total shim measurement.
The same goes for the bell housing side of the pump. The depth of the cut needed to clean all grooves from the pocket is the same amount that needs to be removed from the bell housing worm track surface. The total dimension removed must also be added to the total shim measurement. The desired clearance is 0.004” to 0.006”. GM does not list an endplay measurement in any of their material or provide means to adjust it. However, the aftermarket has shims available. Refer to your soft parts supplier for availability.

There is another cut that can be made to the bell housing in an effort to restore the original endplay. The bell housing surface where it contacts the case can be machined to the same depth removed from the worm track surface and pump pocket (Figure 5). Making this cut would effectively restore the original unit endplay dimensions.
OTHER MACHINING CONSIDERATIONS
Since the most common repairs needed on 6L80 units involve the pump, be aware that we may encounter some unique challenges soon. Specifically with bell housings and stators that have been machined multiple times, some questions arise, such as:
- How much metal can be removed from the pump pocket before it becomes too thin and distorts under normal operating conditions?
- How much metal can be removed to make up clearance at the bell housing-to-case surface before the input shaft, stator, and pump rotor-to-torque converter hub positions are compromised?
- How much metal can be removed from the stator surface before issues occur?
- What issues will be observed if these limits are exceeded?
All of these questions are valid and may produce issues that could be difficult to track. Problems that could occur may include (but are not limited to) the following:
- Pump rotor damage (cracked)
- Premature pump wear due to distortion.
- Excessive high or low line pressure due to a binding slide (pump pocket distortion).
- Repeat torque converter damage/ failure due to insufficient input shaft and stator clearance.
- Internal transmission damage due to the input shaft bottoming in the torque converter. (This may also cause TCC apply and release issues and converter charge problems).
While these are calculated scenarios, here is where I ask the transmission community to PLEASE share your experiences with me at kclark@atra.com.
FLUID TEMPERATURE CONTROL ISSUES
Overheating complaints are frequent with these applications. While most shops have their own way of preventing overheating, you must be careful and consider that it could be an operator error! Ensure you understand the conditions under which the transmission is overheating before jumping to a remedy. Today’s engines put out ample torque and horsepower to move just about any load; however, if the vehicle is overloaded, you cannot solve an overheating problem in the transmission. Here are a few items to check before getting too far into a diagnostic procedure:
- Transmission fluid level too high or too low
- Wrong fluid type
- Trailer towing (vehicle not equipped with tow package)
- Driving in mountainous terrain
- High outside temperatures
- Contaminated fluid (coolant, water, non-compatible additives)
- No TCC apply or excessive TCC slip
- External cooling system issues (sticking cooler bypass valve)
In most cases, the transmission had enough metal that went through the unit due to the torque converter and pump failure to compromise the external cooling components. Use a hot cooler flushing machine to maximize your probability of restoring the inradiator transmission cooler to its total efficiency. Note that even the best flusher may not be able to clean the cooler due to the internal design adequately. Aluminum contamination will often embed itself inside, which acts as an insulator, reducing the cooler’s effectiveness.
 Low-pressure drop auxiliary coolers cannot be flushed! If excessive material enters the cooler, it is best to replace it. Debris will deposit in the lower rows, reducing the capacity and creating a reservoir for contaminants to recirculate through the transmission. Using a hot flush machine on these will only clean the rows that are capable of flowing. The rest of the cooler will remain untouched! So, you’ll get a good flow reading from your flushing machine and maybe a clean filter, but you will still have debris inside.
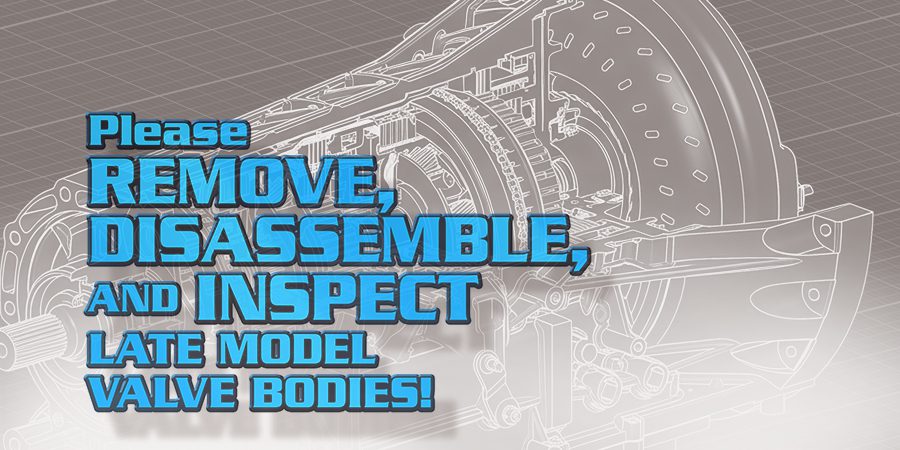
Always remove, disassemble, and inspect the cooler bypass valve and address it as needed. While numerous shops use a bypass, it is optional. However, in most cases, it does prevent overheating issues in this area. However, in some cases, the transmission may never reach operating temperature and may not allow shift adaptation. While this is an exception and not the rule, it would be advisable to install the updated thermostatic bypass valve in these applications (figure 6).
Revisiting transmissions as they age in the aftermarket industry is crucial to ensure we solve the rootcause issues that bring vehicles to our shops. While our cookiecutter processes can deliver reliable results, some outliers will become more common with time, ultimately affecting the quality and durability of the units we build. Here at ATRA, we aim to keep you ahead of the curve so you can deliver the goods to your customers with confidence, time and time again!